Dashboard SSO (Okta)
Info/Context
Type: End-user documentation
Audience: CompanyName Dashboard users with administrator permissions
Purpose: An integration walkthrough that explains how to configure Okta single sign-on access for the CompanyName Dashboard.
Note: Some words and phrases are enclosed in [brackets] to represent hyperlinks to other docs not included in this sample library.
By default, CompanyName uses standard authentication to grant all Dashboard users a simple, secure login experience. However, if your organization uses single sign-on (SSO) to manage internal user accounts across multiple tools, you can configure your SSO platform to access the CompanyName Dashboard. This allows your users to log in to the CompanyName Dashboard with their SSO credentials and gives your organization greater control over user access and permissions.
This guide explains how to configure SSO access through Okta. We also offer an SSO integration with [OneLogin].
Requirements
Before you begin, you must notify CompanyName that you’d like to enable Okta SSO access for your organization. A CompanyName representative will provide you with a set of unique identity credentials that you'll need to provide when you configure your Okta instance.
You'll also need an Okta account with Super Admin permissions.
Configure Okta
After you’ve obtained the required credentials from CompanyName, you can integrate your Okta instance with the CompanyName Dashboard. To configure Okta, complete the following steps:
-
Sign in to the Okta Administrator Dashboard, then navigate to Applications > Applications.
-
Select Add App.
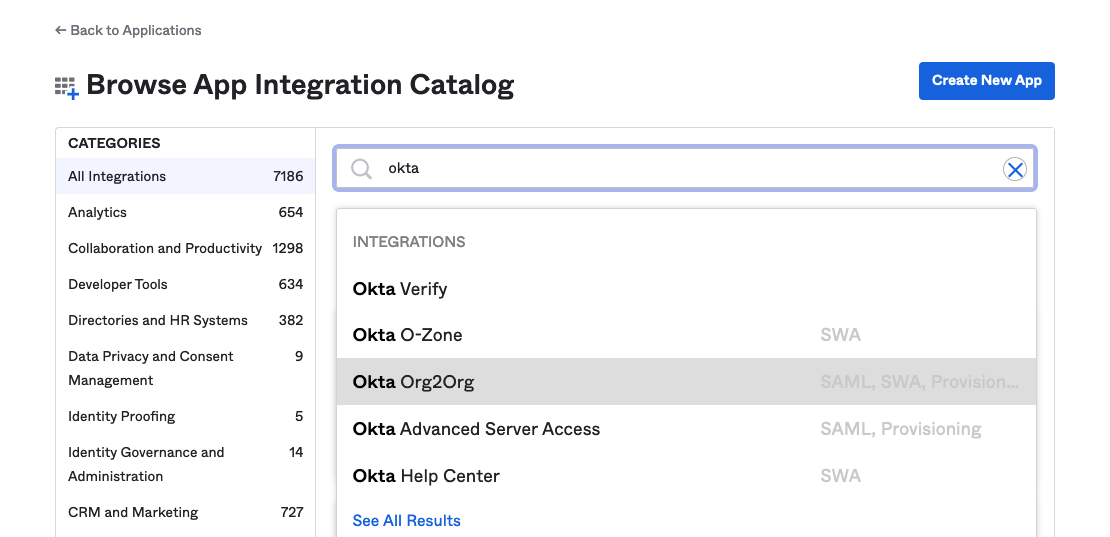
- From the Browse App Integration Catalog menu, search for “okta”, then choose Okta Org2Org.
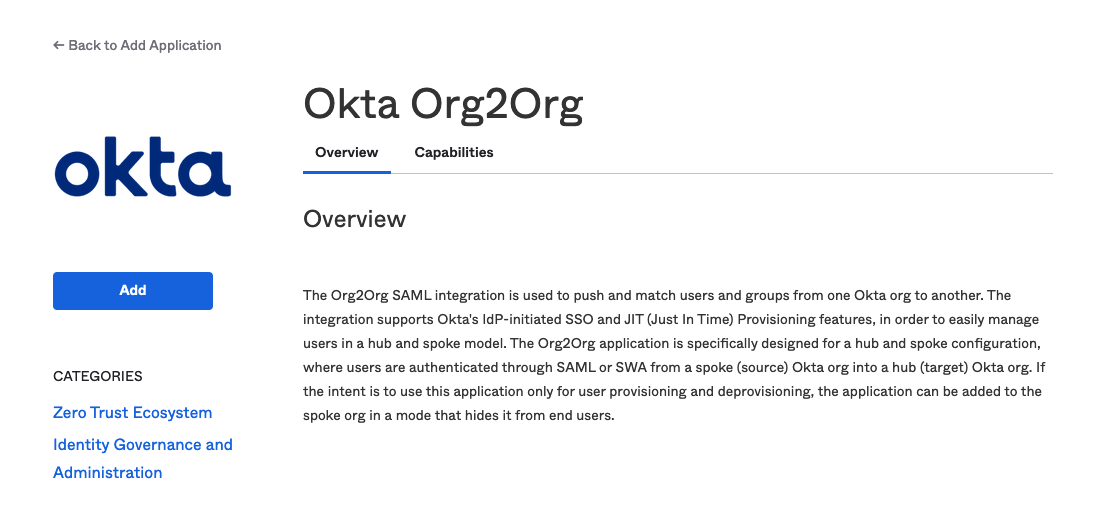
- Select Add.
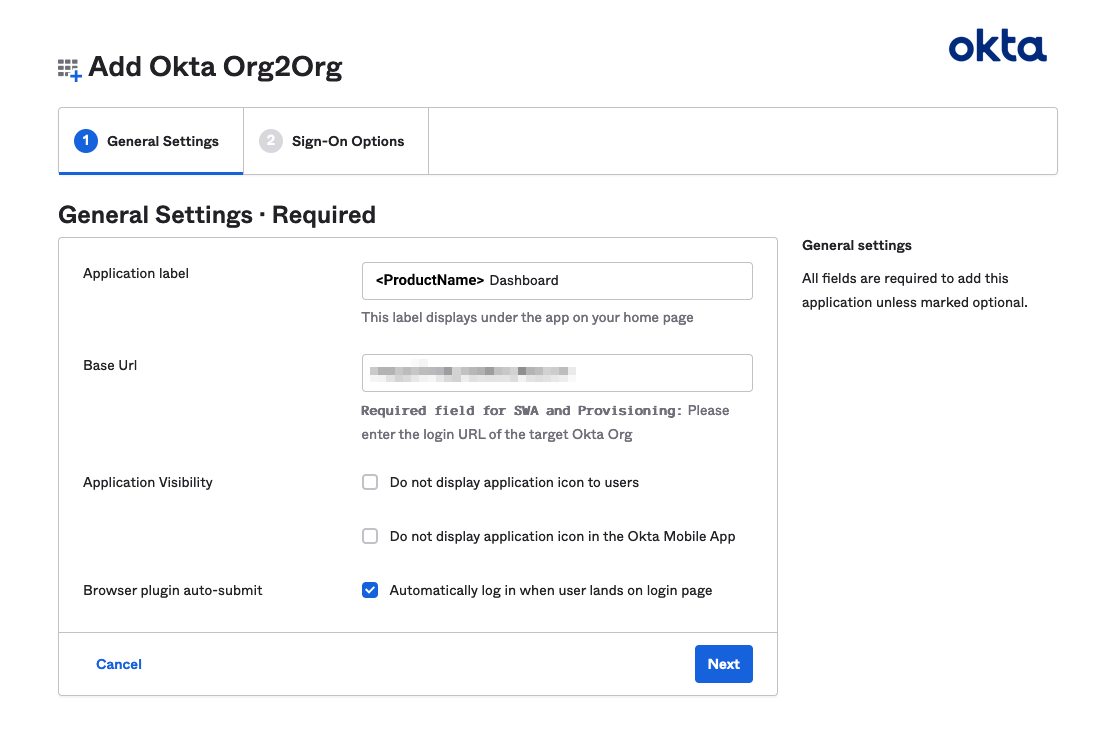
- From the General Settings tab, set the
Applicationlabel to “CompanyName Security Dashboard” and set theBase Urlto the domain that CompanyName provided you with, then select Next.
-
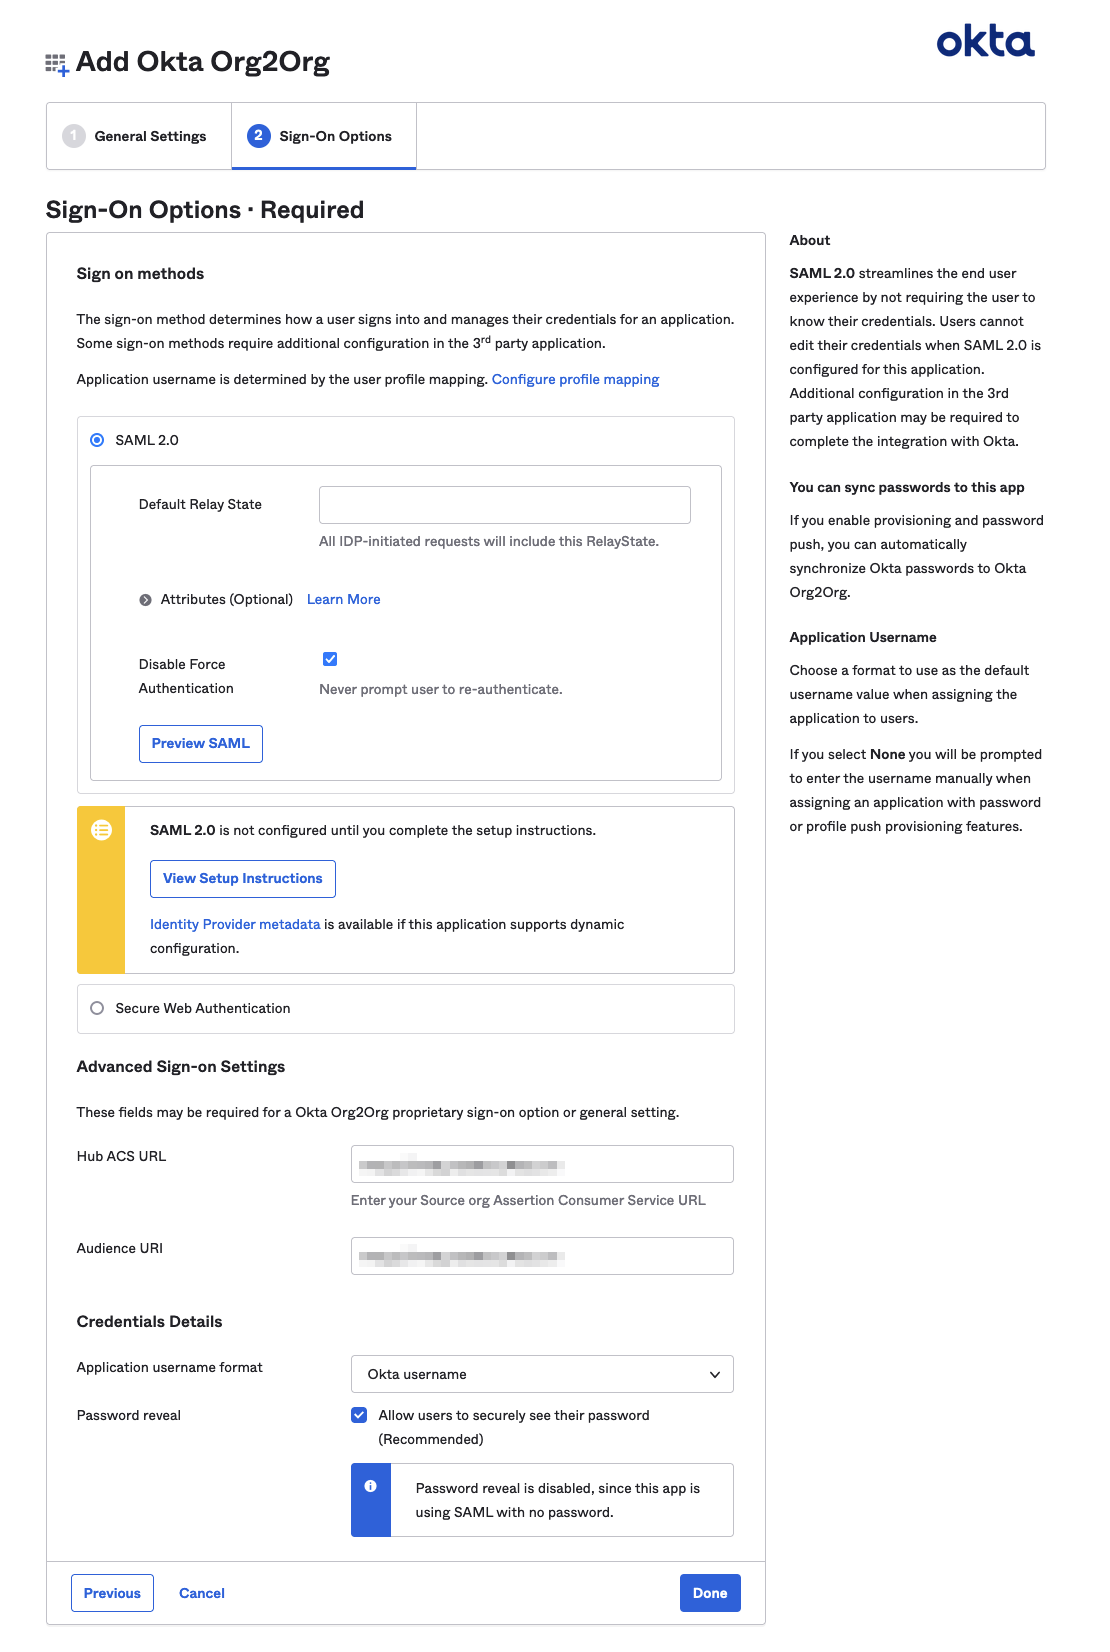
From the Sign-On Options tab, verify that the
Disable Force Authenticationsetting is enabled. Then, under Advanced Sign-on Settings, use the unique credentials you received from CompanyName to complete theHub ACS URLandAudience URIfields. -
Select Done to finalize your changes.
Verify your integration
After you’ve finished configuring your Okta instance, you must contact a CompanyName representative so we can verify that your integration is working correctly. You'll then be able to manage your organization’s SSO access to the CompanyName Dashboard.